The Ultimate Guide to Applying Gel X Nails Like a Pro
Share
Gel X nails have revolutionized the world of nail enhancements, offering a sleek and durable alternative to traditional acrylics. With their lightweight feel and natural appearance, Gel X nails are a favorite among nail enthusiasts and professionals alike. If you're ready to elevate your nail game with Gel X, this step-by-step guide will walk you through the application process, ensuring flawless results every time.
Step 1: Prep Your Natural Nails
Start by shaping and gently buffing your natural nails to create a smooth surface. Push back your cuticles using a cuticle pusher or orangewood stick, being careful not to damage the delicate skin around your nails. Cleanse your nails thoroughly to remove any oils or residue, ensuring optimal adhesion for the Gel X extensions.
Step 2: Select and Size the Gel X Tips
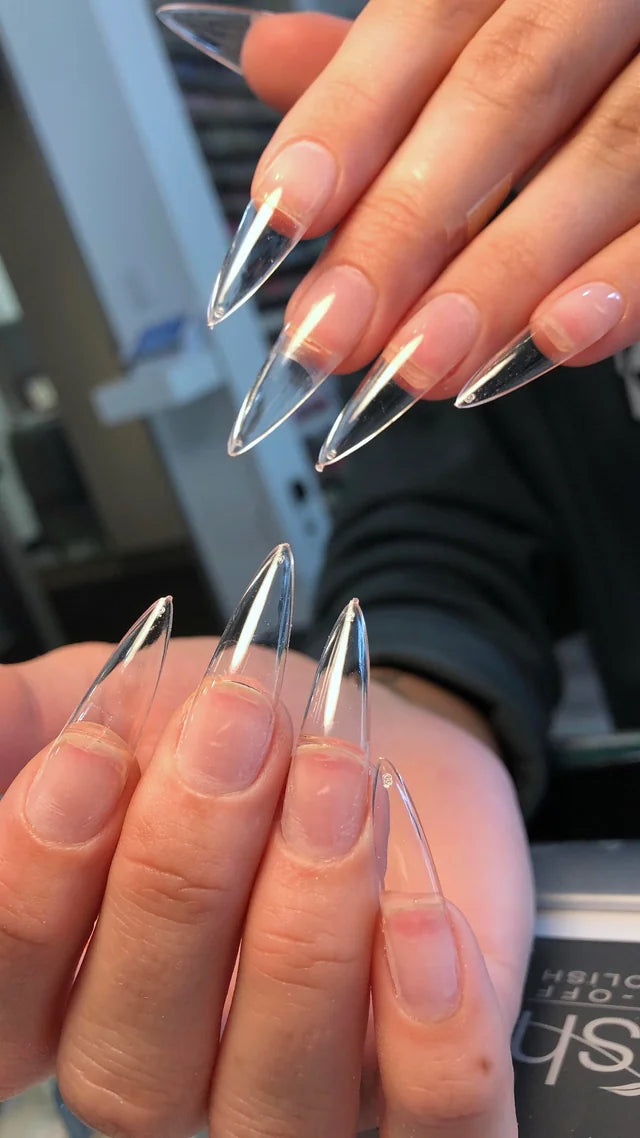
Choose Gel X tips that closely match the width and shape of your natural nails. Trim and file the Gel X tips to your desired length, keeping in mind that you can always trim them further during the application process if needed. Lay out the Gel X tips in order of size for easy access during application.
Step 3: Apply Gel X Adhesive
Using a small brush or applicator, apply a thin layer of Gel X adhesive to the underside of the Gel X tip. Be sure to cover the entire surface evenly, avoiding excess adhesive that may seep out onto your natural nails. Take care not to touch the adhesive with your fingers to prevent contamination.
Step 4: Attach Gel X Tips
Align the Gel X tip with the edge of your natural nail, ensuring a snug fit without any gaps or overhang. Press down firmly on the Gel X tip to secure it in place, starting from the cuticle area and working your way toward the free edge. Hold the Gel X tip in place for a few seconds to allow the adhesive to bond effectively.
Step 5: Cure Under UV or LED Lamp
Once all Gel X tips are applied, cure your nails under a UV or LED lamp according to the manufacturer's instructions. This process helps to harden the Gel X adhesive and ensures long-lasting adhesion. Be sure to follow the recommended curing time to achieve optimal results.
Step 6: Shape and Finish
After curing, gently file the edges of the Gel X tips to refine the shape and smooth out any rough edges. Use a fine-grit nail file to avoid damaging the Gel X extensions or your natural nails. Finish by buffing the surface of the Gel X nails to create a smooth canvas for polish or nail art, if desired.
Step 7: Optional: Apply Gel Polish or Nail Art
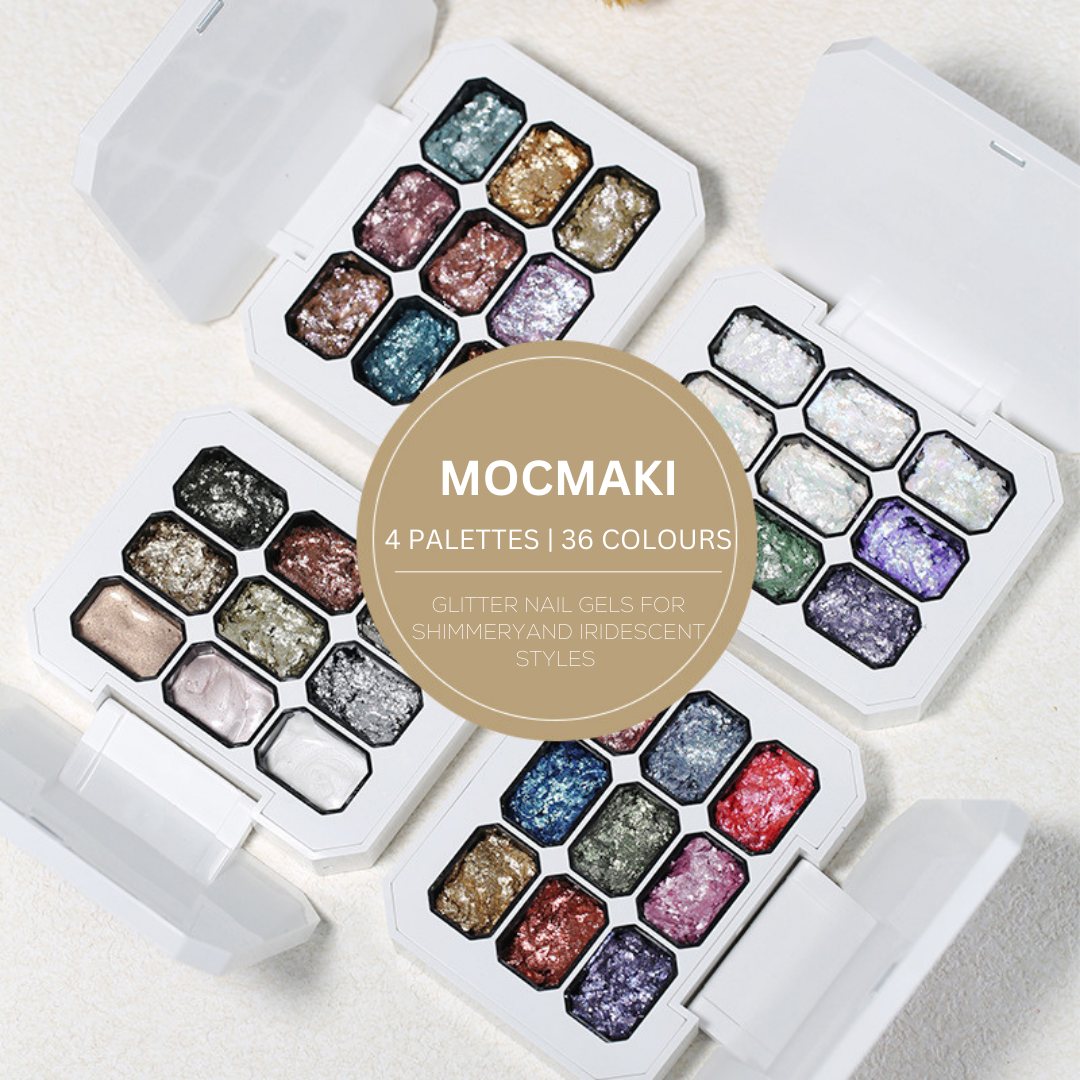
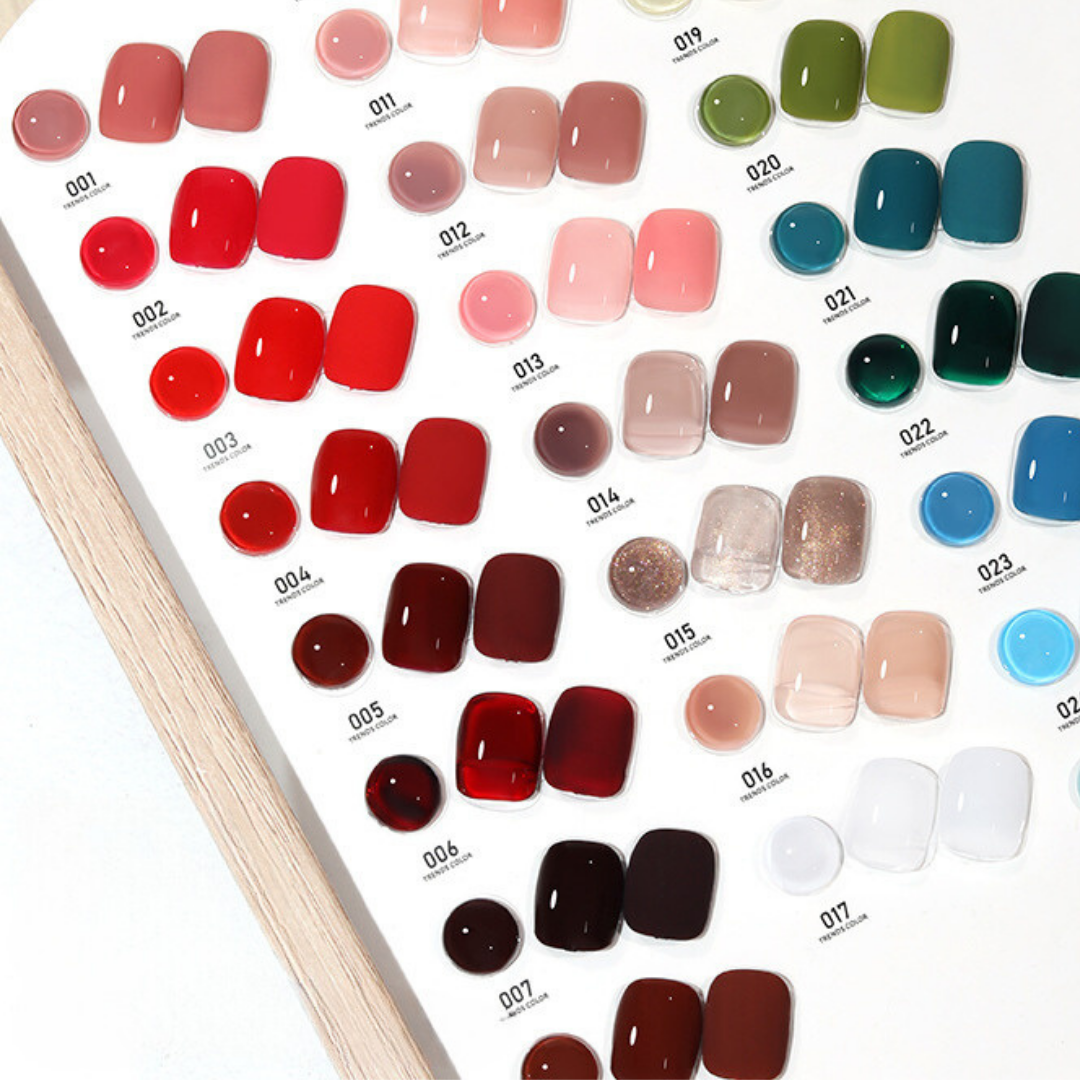
If you prefer to add color or embellishments to your Gel X nails, now is the time to do so. Apply your favorite gel polish or nail art designs using the appropriate techniques. Remember to cure each layer of gel polish under the UV or LED lamp for the specified time to ensure proper curing and long-lasting wear.
Step 8: Seal with Top Coat
Finish your Gel X nails with a layer of high-quality top coat to seal in the color and add shine. Apply the top coat evenly over the entire nail surface, ensuring full coverage and smooth application. Cure the top coat under the UV or LED lamp for the recommended time to achieve a durable, glossy finish.
Final Tips for Maintenance
- Avoid exposing your Gel X nails to harsh chemicals or excessive moisture, as this can weaken the adhesive and cause lifting.
- Use gloves when performing household chores or activities that may put stress on your nails.
- Schedule regular maintenance appointments to fill in any gaps or replace Gel X tips as needed to maintain the integrity of your nails.
With these expert tips and techniques, you'll be able to achieve flawless Gel X nails that rival those of a professional nail technician. Embrace the versatility and durability of Gel X and get ready to flaunt your stunning nails with confidence!


1 comment
Very helpful stuff