HOW TO: Apply Press on Nails Perfectly
Share
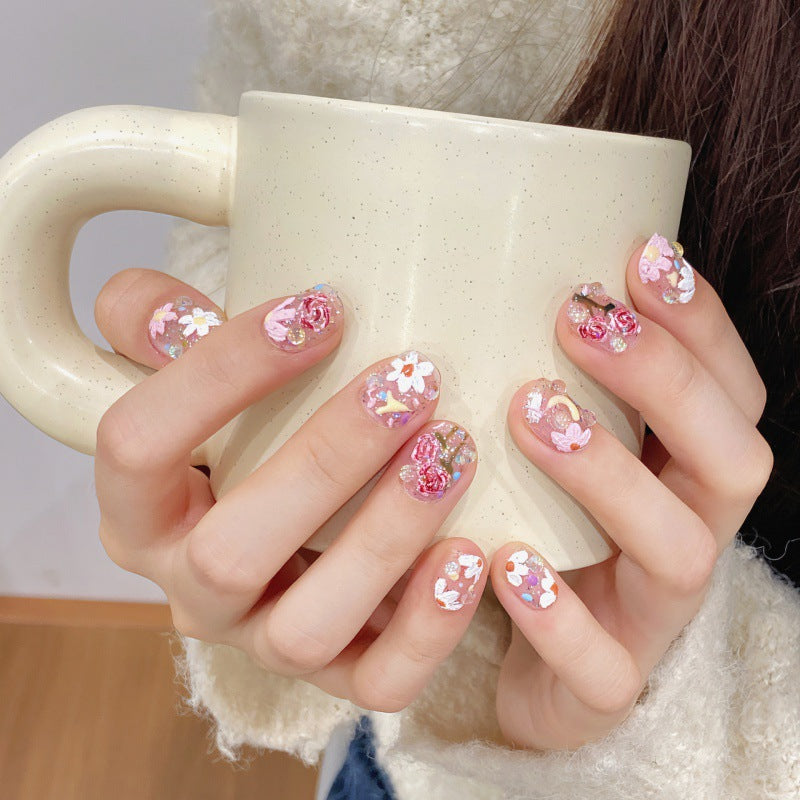
Are you craving a flawless manicure without the hassle of scheduling salon appointments or dealing with drying time? Press-on nails might just be your new best friend! These convenient beauties offer an instant manicure fix, providing you with stylish nails in minutes. However, mastering the art of applying press-on nails requires a few key techniques. Here's a step-by-step guide to help you achieve a professional-looking manicure right at home.
Step 1: Prepare Your Natural Nails
Before you begin, ensure your natural nails are clean, dry, and free from any old polish or residue. Trim and file your nails to your desired shape. Gently buff the surface of your nails to create a slightly rough texture – this helps the press-on nails adhere better and last longer.
Step 2: Select the Right Size
Most press-on nail kits come with a variety of sizes to fit different nail shapes. Take your time to select the appropriate size for each of your nails. It's essential to choose a size that closely matches the width of your natural nail bed for the most natural look and comfortable fit. Check out our size guide here for more details.
Step 3: Apply Adhesive
All of our press-on nail kits come with either sticky tabs or glue. Sticky tabs are for temporary wear and will keep your press-on nails adhered for 1-2 days. Glue is a much more long-lasting adhesive which can keep your press-on nails secured for at least a week if applied properly.
A. Using Sticky Tabs
Ensure you select the correct size of sticky tabs. All of our press-on nail kits include several tabs in each size. The sticky tab should be slightly smaller than your nail so that it is not visible from under the press-on nail. For the best results, apply the sticky tab to your nail and heat gently with a hair drier to make the sticky tab softer and stickier before applying the press-on nail.
B. Using Nail Glue
Using the adhesive provided in your press-on nail kit or a separate nail glue, apply a small amount onto your natural nail. Be sure not to use too much glue, as excess can cause the press-on nail to lift or create a messy application. A thin, even layer is all you need for secure adhesion.
Step 4: Press-On Nail Application
Carefully align the press-on nail with your cuticle, ensuring it sits flush against your natural nail without any gaps. Apply gentle pressure to the nail for a few seconds to secure it in place. Repeat this process for each nail, working from one side to the other to maintain symmetry.
Step 5: Shape and Smooth
Once all the press-on nails are applied, use a nail file to shape and refine the edges to your desired length and style. Smooth out any rough edges or uneven surfaces for a polished finish.
Step 6: Finishing Touches
To enhance the longevity of your press-on nails, apply a clear topcoat over the entire nail surface. This helps seal the edges and adds an extra layer of protection against chipping or lifting. Allow the topcoat to dry completely before going about your day.
Step 7: Maintenance
With proper care, press-on nails can last up to a week or more. Avoid excessive exposure to water, especially in the first few hours after application, as this can weaken the adhesive. Be gentle when performing tasks that may put pressure on your nails, such as opening cans or typing on a keyboard.
Step 8: Removal
When it's time to remove your press-on nails, soak them in warm, soapy water for a few minutes to loosen the adhesive. Gently wiggle the nails from side to side to detach them from your natural nails. Avoid forcefully pulling or prying, as this can damage your nails.
Final Thoughts
With these simple steps, you can achieve salon-quality nails in the comfort of your own home. Press-on nails offer a convenient and cost-effective solution for those seeking beautiful nails on the go. Experiment with different shapes, colors, and designs to express your unique style and personality. So, why wait? Check out our gorgeous selection of Press-on nails to suit any occasion!


