How to Achieve Perfect Chrome Nails: A Step-by-Step Guide
Share
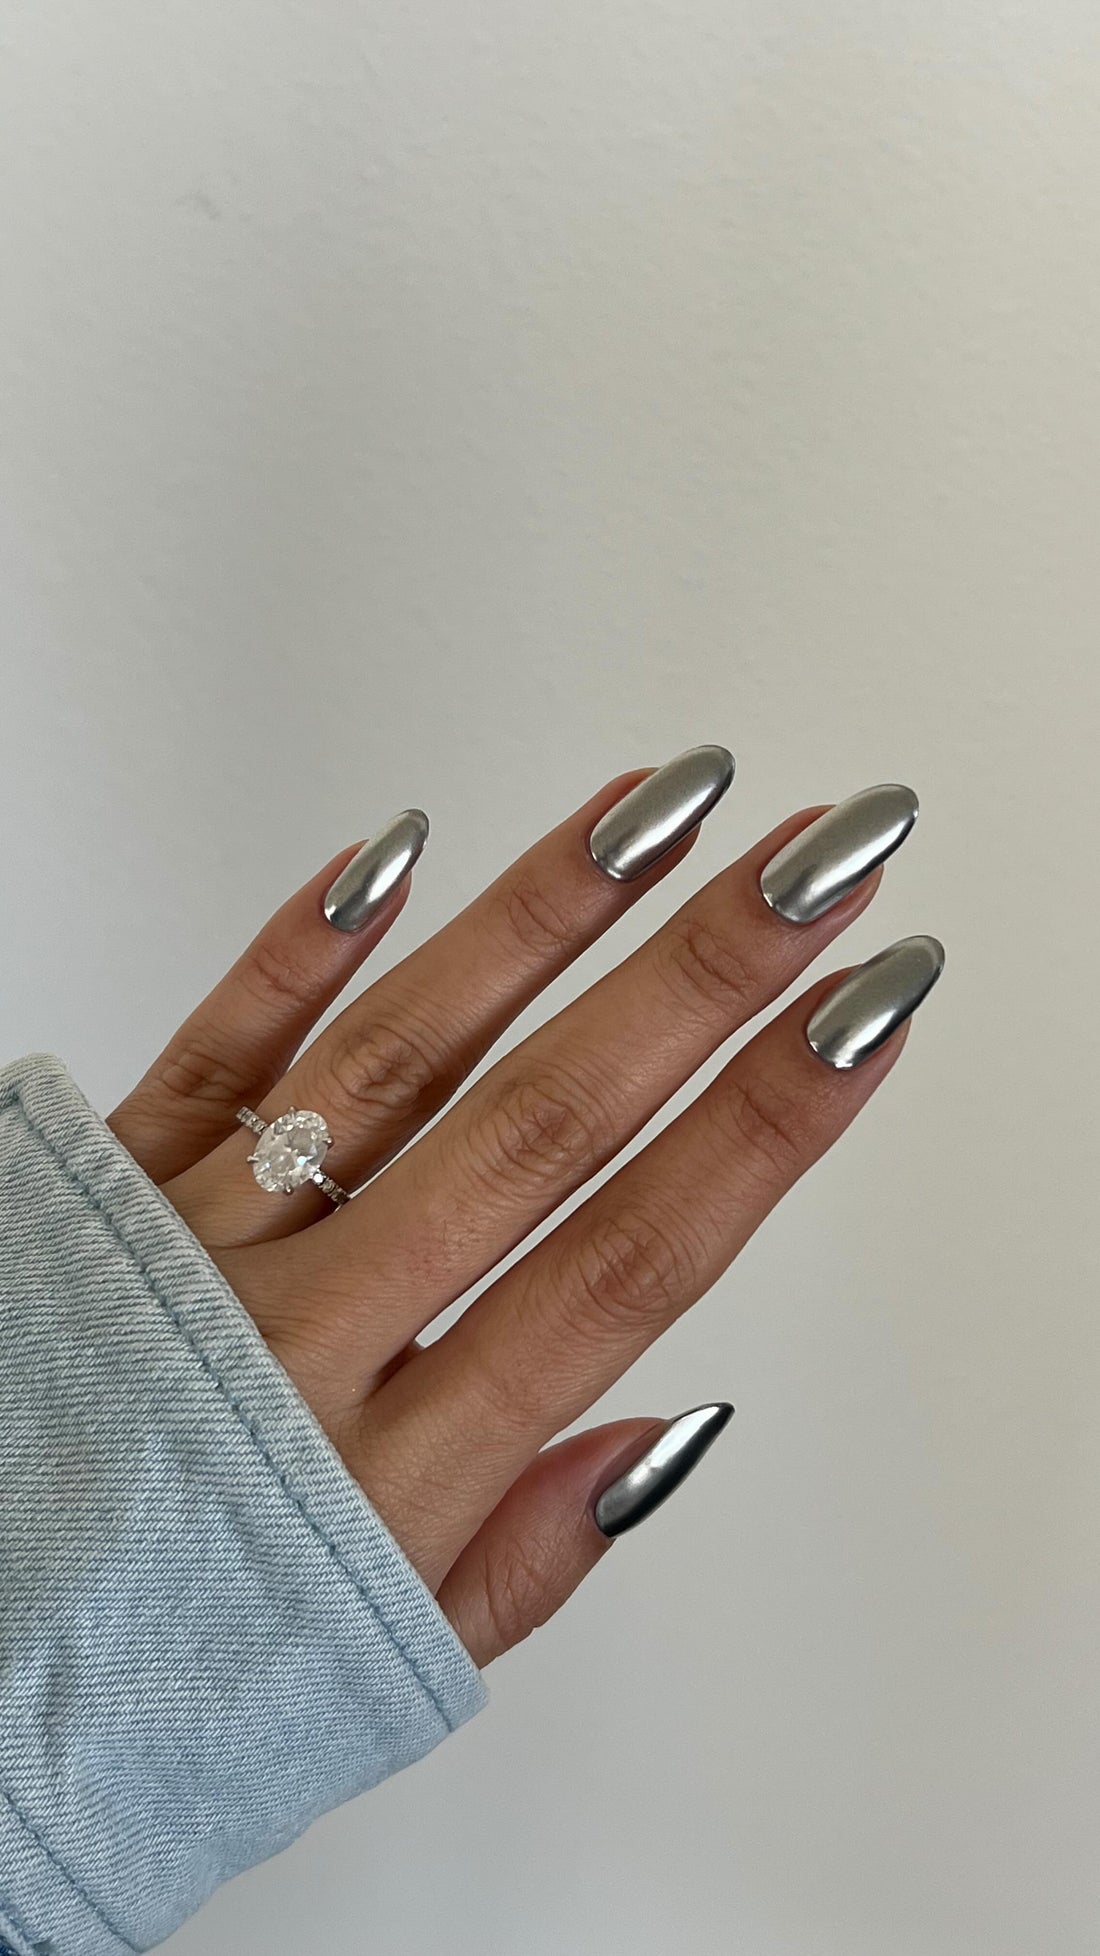
Chrome nails are a stunning, futuristic trend that has taken the beauty world by storm. Their mirror-like finish and dazzling shine make them a must-have for anyone looking to make a statement with their manicure. If you’re wondering how to get the perfect chrome nails, you’ve come to the right place. In this guide, we’ll walk you through the steps to achieve flawless chrome nails using a no-wipe top coat.

What You'll Need
To achieve the perfect chrome nails, you'll need a few essential items:
- Base coat
- Gel polish in your desired color
- No-wipe top coat
- Chrome powder
- Applicator (sponge eyeshadow applicators work well)
- UV or LED lamp
- Cuticle oil (optional)
Step-by-Step Guide to Perfect Chrome Nails
1. Prep Your Nails
Start by prepping your nails. Remove any old polish, push back your cuticles, and shape your nails. Buff the surface of your nails lightly to create a smooth base for the gel polish. This step ensures that your chrome nails will have a flawless finish.
2. Apply Base Coat
Apply a thin layer of base coat to your nails. This step is crucial as it helps the gel polish adhere better and protects your natural nails. Cure the base coat under a UV or LED lamp according to the manufacturer's instructions.
3. Apply Gel polish
Choose a gel polish color that complements your chrome powder. Black gel polish is a popular choice as it enhances the chrome effect, but you can experiment with other colors for different effects. Apply a thin layer of the gel polish and cure it under the lamp. Repeat this step if you need a second coat for full opacity.
4. Apply No-wipe Top Coat

The secret to achieving perfect chrome nails lies in using a no-wipe top coat. Apply a layer of no-wipe top coat over your gel polish and cure it under the lamp. The no-wipe top coat provides a tack-free surface that is ideal for applying chrome powder.
5. Apply Chrome Powder
Using a sponge applicator, gently rub the chrome powder onto the surface of your nails. Make sure to cover the entire nail for an even, mirror-like finish. The chrome powder should stick to the no-wipe top coat, creating that desired chrome effect.
6. Seal with No-wipe Top Coat
Once you’ve achieved the perfect chrome effect, seal it with another layer of no-wipe top coat. This final step locks in the chrome powder and adds extra shine and durability to your manicure. Cure the top coat under the lamp to finish your chrome nails.
7. Hydrate Your Cuticles
After curing, your nails are ready to dazzle! For an extra touch, apply cuticle oil to keep your cuticles hydrated and healthy-looking.
Tips for Long-Lasting Chrome Nails
- Use high-quality products: Investing in good-quality gel polish, no-wipe top coat, and chrome powder can make a significant difference in the longevity and appearance of your chrome nails.
- Thin layers are key: Applying thin layers of base coat, gel polish, and top coat helps prevent chipping and ensures a smooth finish.
- Avoid water immediately after application: Give your nails time to harden completely by avoiding water for at least an hour after your manicure.
Common Issues
- Chrome powder not sticking: Ensure that you are using a no-wipe top coat. Regular top coats will not work as well for this technique.
- Streaky finish: Make sure to buff your nails smoothly and apply the gel polish and top coat evenly.
- Chipping: Seal the edges of your nails with the top coat to prevent premature chipping.

Achieving the perfect chrome nails at home is easier than you might think. By following these steps and using the right products, you can create a stunning, mirror-like manicure that will turn heads. Chrome nails are a fabulous way to add a touch of glamour to any look, and with a bit of practice, you’ll master this trendy nail art technique in no time.
For more nail art tips and trends, stay tuned to our blog. Don’t forget to share your chrome nail creations with us on social media - tag us on Instagram @NAILSAMI.official. Happy styling!


