Chrome Powder Nails at Home: The Complete DIY Tutorial (2026)

Chrome Powder Nails at Home: The Complete DIY Tutorial
Key Takeaways
- Chrome powder nails are completely doable at home with a UV/LED lamp, gel base coat, no-wipe top coat, and chrome powder ($8-15 for a starter kit).
- The single biggest mistake beginners make: applying chrome powder to a fully cured top coat. You need residual tackiness for the powder to bond.
- A silicone applicator or eyeshadow sponge gives better results than a brush for beginners.
- With proper technique, DIY chrome nails last 2-3 weeks and cost under $2 per manicure after the initial supply investment.
Chrome powder nails have become one of the most searched nail techniques on TikTok in early 2026, and honestly, I get the obsession. That liquid-metal, mirror-like finish looks like it costs $80 at a salon. But here's what most people don't realize: you can get the same result at home for a fraction of the price, and the technique itself is actually simpler than painting a clean French tip.
This tutorial walks through every step of applying chrome powder nails at home, from prepping your natural nails to sealing the final coat. I've also pulled real data and tips from the most-watched chrome nail tutorials on TikTok (we're talking videos with millions of views) so you're learning from what actually works, not just theory. Whether you've never touched a UV lamp or you've been doing gel nails for years, this guide covers it.
1. What Is Chrome Powder and How Does It Work?
Chrome powder is a finely milled metallic pigment that creates a reflective, mirror-like surface when rubbed onto nails. The particles are small enough to lay flat against the nail surface, bouncing light back uniformly to produce that signature liquid-metal look. The powder itself isn't nail polish, and it doesn't contain any adhesive. It relies entirely on the sticky (inhibition) layer of cured gel to bond.
There are a few types worth knowing about:
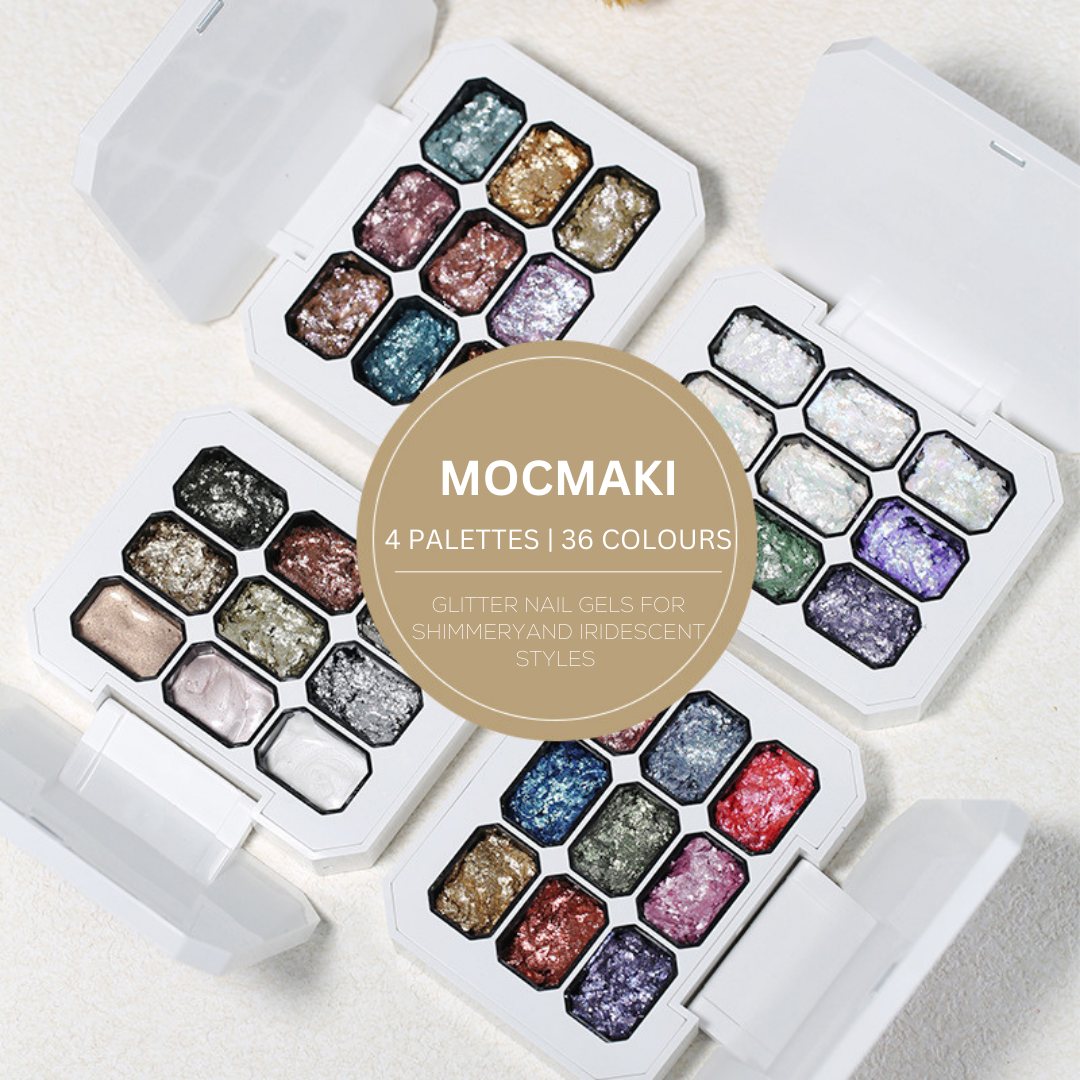
- Mirror chrome - the classic silver or gold metallic finish. The most TikTok-viral variety by far.
- Aurora/holographic chrome - shifts color depending on the angle. Think opal or unicorn vibes.
- Color-shift chrome - dual-tone powders like pink-to-purple or green-to-blue.
- Solid color chrome - rose gold, champagne, blue, or emerald chrome over a matching base.
The technique is the same for all of them. Once you learn mirror chrome, every variation is just a different powder.
2. Everything You Need for Chrome Powder Nails at Home

Supply Checklist
- UV/LED nail lamp (36W minimum) - cures gel in 30-60 seconds
- Gel base coat - protects your natural nail
- Color gel polish - black for silver chrome, nude/pink for rose gold, white for aurora
- No-wipe gel top coat - this is non-negotiable for chrome application
- Chrome powder ($8-15 for a multi-shade kit on Amazon)
- Silicone applicator sponge or eyeshadow applicator - for rubbing powder onto the nail
- Lint-free wipes and nail cleanser
- Nail file (180 grit) and buffer
- Cuticle pusher
Total starter cost runs between $35 and $60 if you're buying everything new. The chrome powder itself is the cheapest part. Makartt's 6-color chrome kit sells for about $12 on Amazon and has been featured in multiple viral TikTok tutorials, including one by @jesslizs that hit 3.7 million views. After the initial setup, each manicure costs roughly $1.50 in materials.
One thing I want to call out: regular nail polish won't work well for this. You technically can attempt it, but gel is what makes chrome powder actually stick and look smooth. If you're investing in supplies, go gel from the start. The lamp pays for itself after two or three manicures compared to salon prices.
3. Nail Prep (Don't Skip This)
Proper nail prep determines at least 70% of how your chrome nails turn out. Rush this part and you'll get lifting, bubbling, or uneven chrome. Take an extra 10 minutes here and the application itself becomes almost foolproof.
Push back cuticles with a metal or wooden pusher. Remove any dead skin clinging to the nail plate. Chrome powder will catch on any texture, so you want the surface completely smooth.
Shape your nails with a 180-grit file. Almond and oval shapes look best with chrome because the smooth curves catch light evenly. Avoid sharp square edges if this is your first time.
Lightly buff the entire nail surface with a fine buffer. This removes shine and creates micro-texture for the gel to grip. Don't go aggressive here. You want the nail looking matte, not thin.
Wipe each nail with a lint-free pad soaked in nail cleanser or 91% isopropyl alcohol. This removes oils and dust. Touch your nails after this step and the gel won't stick properly.
4. How to Apply Chrome Powder Nails: Step-by-Step

This is the core of the tutorial. Follow these steps in order and you'll get a clean mirror chrome finish on your first try. I'm basing this on the technique from @NailCareerEducation, whose chrome powder "half-cure" method has 7.9 million plays and 411,000 likes on TikTok.
Apply a thin, even layer of gel base coat. Cap the free edge (brush along the tip). Cure under your UV/LED lamp for 60 seconds (or per your brand's instructions). Clean up any gel that touches the cuticle or sidewalls before curing.
Apply your color gel in thin, even strokes. For silver mirror chrome, use black gel. For rose gold chrome, use a nude pink. For aurora chrome, white works best. Cure each coat for 60 seconds. Two coats gives full opacity without bulk. The smoother this layer, the smoother your chrome will look.
Apply a thin layer of no-wipe gel top coat. Here's where the magic happens: cure it for only half the recommended time. If your lamp says 60 seconds, cure for 30. This leaves the surface slightly tacky, which is exactly what the chrome powder needs to bond. This half-cure technique is the single most impactful tip in chrome application. @NailCareerEducation built an entire viral video around this one detail.
Pick up chrome powder with your silicone applicator or sponge. Press it onto the nail surface firmly and rub in small circular motions. Start from the center and work outward. Apply steady, even pressure. The powder will transform from dusty to reflective almost instantly. Keep rubbing for 20-30 seconds per nail until you see a smooth, mirror-like finish with no patchy spots.
Use a clean, soft brush (a fluffy eyeshadow brush works perfectly) to dust away loose powder from the nail surface and cuticle area. Be gentle. You want to remove the unfixed powder without scratching the chrome layer underneath.
This step is easy to forget and painful to skip. Take your nail file and lightly file the very tip of each nail in a downward motion. This removes chrome powder that's sitting loosely on the edge, which is the number one cause of premature peeling and chipping. @kara on TikTok (179K views on her chrome tips video) specifically calls this out as the difference between chrome that lasts 3 days versus 3 weeks.
Apply another layer of no-wipe gel top coat over the chrome. This time, cure it fully (the complete 60 seconds). This seals the powder in place and adds the glossy depth that makes chrome nails look wet and expensive. Some people apply two sealing coats for extra durability. I do one thick coat and it holds fine for two weeks.
5. Troubleshooting: Why Your Chrome Looks Patchy or Won't Stick
Almost every chrome powder complaint I've seen comes down to one of four issues. Here's what's going wrong and how to fix it:
Problem: Chrome powder won't stick at all.
You cured the top coat too long. The surface is fully set and there's no tackiness left. Fix: cure for only 50% of the recommended time. If that's still not working, try 40%. Different lamp wattages and gel brands cure at different speeds.
Problem: Chrome looks patchy or streaky.
Your color gel underneath isn't smooth. Chrome amplifies every imperfection in the layers below it. Fix: apply thinner, more even color coats. Let each one self-level for 5 seconds before curing.
Problem: Chrome chips within 2-3 days.
You didn't file the free edge after applying the powder. Loose powder at the tip lifts and takes the chrome with it. Fix: file the edge before sealing, every time.
Problem: Chrome looks dull, not mirror-like.
Either your powder quality is low or you're not rubbing hard enough. Cheap chrome powder has larger particles that don't lay flat. Fix: invest in a better powder (Makartt, NailArtHouse, or Modelones are all solid), and rub with consistent firm pressure for at least 20 seconds per nail.
6. Chrome Nail Styles Worth Trying in 2026

Once you've nailed the basic technique (pun intended), here are the trending chrome styles worth experimenting with this spring:
Mirror Silver Chrome
The classic. Black gel base + silver chrome powder. Looks like actual molten metal on your fingertips. This is the style most people picture when they hear "chrome nails" and it's still the most viral version on TikTok, with #chromenails accumulating hundreds of millions of views.
Rose Gold Chrome
Nude pink base + rose gold chrome powder. Softer and more wearable than silver. This is what @michellekhxn used in her 2.9-million-view "glazed donut chrome" tutorial that kicked off a wave of DIY dupes.
Cat Eye Chrome
Apply chrome powder normally, then hold a cat eye magnet over the wet top coat before curing. The magnetic particles in the gel create that swirling, dimensional cat eye line through the chrome. @YOKEFELLOW calls it "magic mirror chrome" and it's one of the more eye-catching combinations trending for spring 2026 nail trends.
Aurora/Holographic Chrome
White gel base + aurora chrome powder. Produces an iridescent, opal-like shimmer that shifts between pink, blue, and green depending on the light. Less "in your face" than mirror chrome but extremely pretty in person. Works well for wedding nails and formal events.
Chrome French Tips
Apply chrome powder only to the tip area using a thin applicator or small sponge. The rest of the nail stays nude or sheer pink. It's a modern take on the French tip nail design that looks editorial without being too bold for work environments.
7. Aftercare: Making Your Chrome Nails Last
Chrome nails are more durable than they look, but they're not invincible. A few habits make a real difference:
- Wear gloves for cleaning. Harsh chemicals (bleach, acetone-based cleaners) break down gel top coat faster than normal wear. This applies to all gel nails, but chrome shows damage more visibly because the finish is so reflective.
- Apply cuticle oil daily. Sounds basic, but hydrated nail beds prevent lifting at the cuticle line, which is where chrome manicures typically fail first.
- Don't peel or pick. If a nail starts lifting, resist the urge to pull it off. File it down or soak in acetone for 10 minutes first. Peeling takes layers of your natural nail with it.
- Touch up the top coat at day 10. A thin layer of regular clear polish (not gel) over the chrome at the one-week mark extends the shine by another 3-5 days.
With good aftercare, expect 2-3 weeks of wear. That's comparable to a salon gel manicure. For safe removal at home, soak cotton pads in acetone, wrap each nail in foil, and wait 15 minutes before gently scraping.
Chrome looks in every colour: See chrome applied to different base colours in our design guides — red chrome nails (11.9M TikTok plays), pink chrome nails, black chrome nails, purple chrome nails, and white chrome / glazed donut nails. For a deep comparison of chrome vs. glazed donut finishes, see our Chrome vs. Glazed Donut guide. All chrome techniques work with YISS HEMA-free gel polish as the base colour.
Frequently Asked Questions
You've Got This
Chrome powder nails at home looked intimidating to me the first time too. Then I actually tried it and realized the hardest part was waiting for gel to cure. The technique is genuinely simple once you understand the half-cure trick and why filing the free edge matters. Everything else is just rubbing shiny powder onto your nails, which, let's be honest, is kind of therapeutic.
If you pick up one thing from this tutorial, make it this: no-wipe top coat, half cure, firm pressure, file the edge. Those four steps account for 90% of the difference between chrome nails that look salon-quality and ones that look like a craft project.
Tag us @nailsami when you try it. We feature our favorite reader chrome looks in our monthly community roundup.