Cat Eye Gel Polish: The Complete Guide to Magnetic Nail Art in 2026
Cat Eye Gel Polish: The Complete Guide to Magnetic Nail Art in 2026
Key Takeaways
- Cat eye gel polish uses magnetic iron particles to create a shifting light streak effect
- You only need three things: cat eye gel, a UV/LED lamp, and a magnet
- Deep emerald green is the standout colour for spring 2026
- The technique takes about 15 extra seconds per nail once you know it
- TikTok search data confirms "Cat Eye Gel Polish" is one of the top rising nail keywords right now
In This Guide
Cat eye gel polish is having a massive moment right now. Not vaguely trending — actually dominating feeds, with searches for "cat eye nail polish" and "cat eye gel polish" among the top TikTok keyword suggestions alongside "cat eye nails design" and "nail inspo ideas." If you've been watching nail content lately, you've seen these. That moving streak of light on a dark nail, shifting as you tilt your hand. It looks complicated. It isn't.
This guide covers everything: what the effect actually is, which colours are worth buying in spring 2026, how to do it at home without ruining it, and five designs to get you started.
What Is Cat Eye Gel Polish?
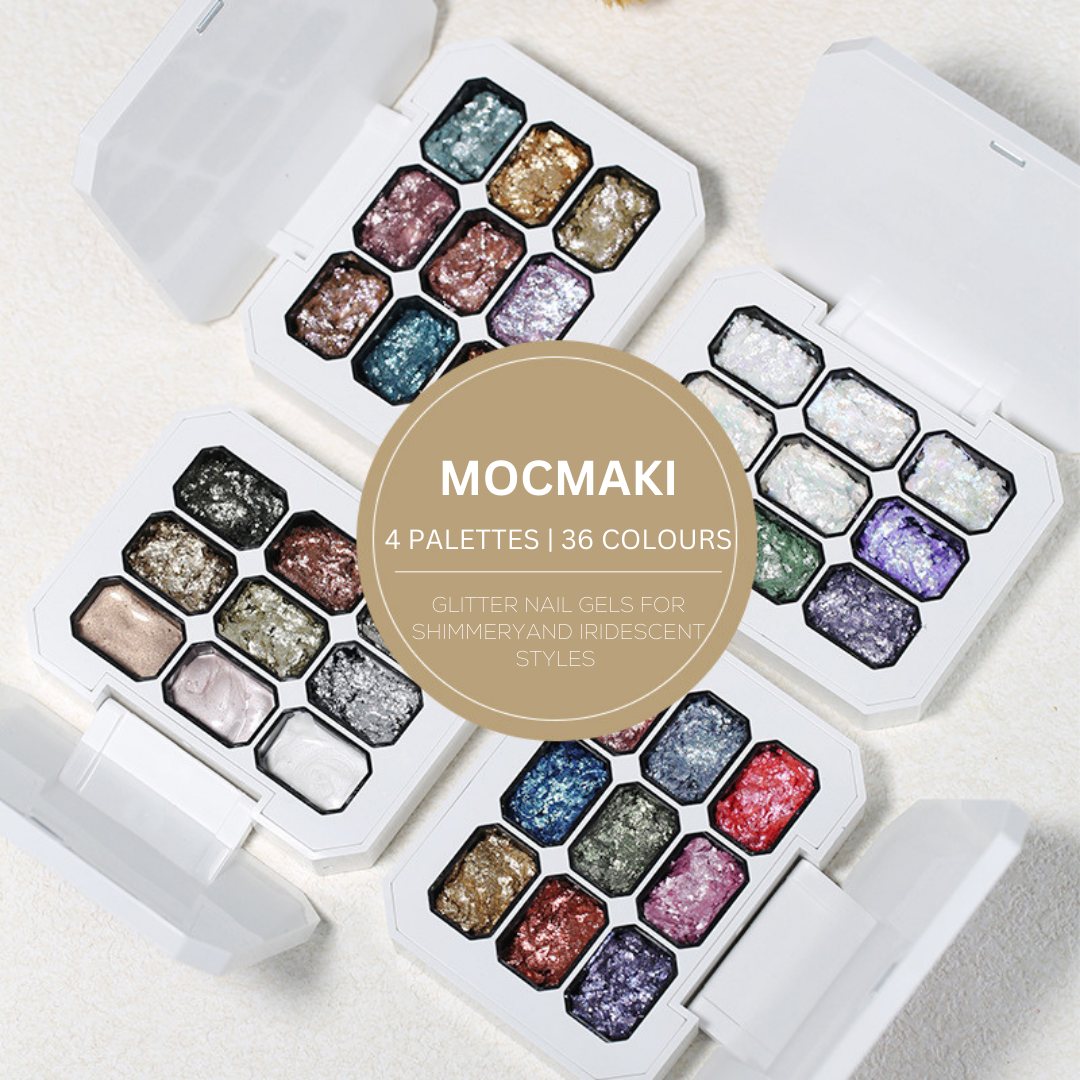
Cat eye gel polish contains tiny metallic particles, usually iron filings or chrome-adjacent powder, suspended inside a gel base. On their own these particles do nothing interesting. But hold a magnet close to the uncured gel and everything changes. The particles align in a pattern, creating that distinctive stripe of reflected light that shifts across your nail as you move it. That's the cat eye effect.
The name comes from the way a cat's eye catches light. A narrow vertical band of brightness against a deep iris. Same idea. The magnet shapes the particles into that band before you cure the gel under your lamp.
You need three things: the gel polish itself, a UV or LED lamp, and a magnet. The gel has to be a cat eye specific formula. Regular gel polish has no magnetic particles, nothing to move. Browse the full Cat Eye Gel Polish collection at Nailsami to see what a proper cat eye range looks like.

Why Cat Eye Nails Are Trending in 2026
The numbers are real. TikTok keyword data for "cat eye nails" returns "cat eye nails design," "cat eye nail polish," "Cat Eye Gel Polish," and "nail inspo ideas" as the top related searches. These aren't niche terms. They're what millions of people are actively typing into the platform right now.
Part of what's driving this is how well it films. Cat eye nails catch light in a way almost nothing else does. Tilt your hand under a ring light and the shimmer streak moves. You can actually see the effect shift in a video clip. That makes for genuinely satisfying content, which means more people post it, which means more people discover it. The cycle is doing its thing.
Korean nail salons also played a big role in making this mainstream. Korean gel polish brands pioneered the ultra-smooth, deeply pigmented cat eye formulas that became viral. These weren't watered-down versions of the effect. The formulas were good enough that even beginner DIYers could get results worth posting.
The other factor is accessibility. You don't need a salon to do this. A basic at-home gel kit, some cat eye polish, and a magnet is genuinely all it takes.
Best Cat Eye Colours for Spring 2026
The green is the one. Seriously, the deep emerald cat eye is genuinely the best colour they've released and I say that having tried most of them. In spring light it looks incredible. The streak goes from almost black to bright gold-green depending on the angle you hold your hand. It's dramatic without being overdone.
Beyond green, these are the spring 2026 shades worth knowing:
Dusty mauve. A softer option, surprisingly versatile. The cat eye effect shows up as a warm violet streak rather than the sharp metallic line you get on darker shades. Works really well on shorter nails where you want something elegant without it looking too intense.
Deep navy. The streak reads as icy blue-silver against the dark base. Very editorial. Very much all over nail content right now.
Burgundy red. The magnetic line against a deep red base looks almost rose gold. Warmer than you'd expect. Good if you want the effect without it looking futuristic or too out-there for everyday wear.
Gold aurora. A step up from classic cat eye. Multiple colour shifts rather than a single stripe. More complex-looking, but also genuinely stunning for special occasions. Pairs well with chrome powder for an extra dimensional finish.
Most of these are available in the gel polish collection at Nailsami. If you want to start simple, get one dark shade and learn the technique before buying five colours.

How to Do Cat Eye Nails at Home: Step by Step
Prep is everything. Rough up the nail surface gently, push back cuticles, apply a thin layer of base coat and cure it under your lamp. This is identical to regular gel polish. Don't skip the base coat.
Apply your first coat of cat eye gel polish. Here's the key: cure it immediately without doing anything with the magnet yet. This first layer just builds pigment. Cure it fully.
Apply a second coat, slightly thicker this time. Now comes the magnet step. Hold the magnet about 2-3mm above your nail, not touching it. Hold it there for 10-15 seconds. The particles will move. You'll see the streak form. Then slide your nail under the lamp and cure while you keep the magnet in position if your lamp allows it.
Some lamps give you enough room to cure with the magnet hovering above. Some don't. If yours doesn't, get the line looking good, pull the magnet away, and cure immediately without jarring the bottle. That streak locks in fast once it sets.
I'd skip the magnet pen if you're just starting out. A flat bar magnet gives more control and a cleaner line than the pen-shaped ones. Once you've done a few sets you'll know which angles you prefer.
Finish with top coat. Wipe with isopropyl if your top coat leaves a tacky layer.
Want everything in one box? The Gel Polish Kits at Nailsami include lamp, base, top, and colour together.

Cat Eye Nail Designs: 5 Looks to Try
1. Single line classic. One coat of colour, one magnet pass, straight streak down the centre. This is the look. Dark green, navy, or burgundy. Good for beginners. Looks expensive with basically no effort.
2. Double stripe. Two passes of the magnet at different angles on the same uncured coat. You get a crosshatch effect — two lines that meet somewhere near the middle. Takes a steady hand but worth trying once you've nailed the basic version.
3. Half moon cat eye. Apply a different solid colour at the base of the nail before doing your cat eye on top. A nude or sheer base with a deep cat eye overlay looks really clean. The solid colour collection has good base options for layering.
4. Ombre cat eye. Gradient from one colour to another, then apply the magnet to the top half only. The shimmer line sits in the darker zone. Takes practice but the result looks genuinely custom.
5. Cat eye with chrome. After curing your cat eye, rub chrome powder over the top before applying top coat. The chrome amplifies the metallic quality of the streak. Next level finish, very worth trying.

Cat Eye vs Regular Gel Polish: What's the Difference?
The formula is different. Regular gel polish cures to a smooth, even colour. Cat eye gel contains magnetic particles that respond to a magnet before curing. Without a magnet pass, cat eye gel just looks like a metallic shimmer with no direction to it. Nothing special.
The application process has one extra step. The magnet. Everything else is identical. Base coat, colour layers, top coat, UV lamp. The magnet step takes maybe 15 seconds per nail once you know what you're doing.
Longevity is the same. Both properly applied gel formulas last two to three weeks. Cat eye doesn't chip faster or slower than standard gel. Prep and top coat determine how long your set holds, not the formula type.
The look is where they're completely different. Cat eye has that 3D illusion quality that flat gel can't replicate. If you want something that makes people stop and ask what's on your nails, this is it. Check out the full range of nail guides for more technique breakdowns.
Summary Table
| Style | Colour | Skill Level | Best Shape |
|---|---|---|---|
| Classic single line | Emerald green, navy, burgundy | Beginner | Almond, oval |
| Double stripe | Dark tones work best | Intermediate | Coffin, square |
| Half moon cat eye | Cat eye over nude base | Beginner | Round, oval |
| Ombre cat eye | Two complementary colours | Intermediate | Almond, coffin |
| Cat eye + chrome | Deep base + chrome powder | Intermediate | Coffin, stiletto |